 |
| The Picnic Date Dress Photo by ChyLn |

Showing posts with label coffee date dress. Show all posts
Showing posts with label coffee date dress. Show all posts
Monday, July 11, 2011
The Picnic Date Dress

Sunday, July 10, 2011
Sew along, day 22: hem your dress!
 |
| Dress before hemming, but otherwise finished |
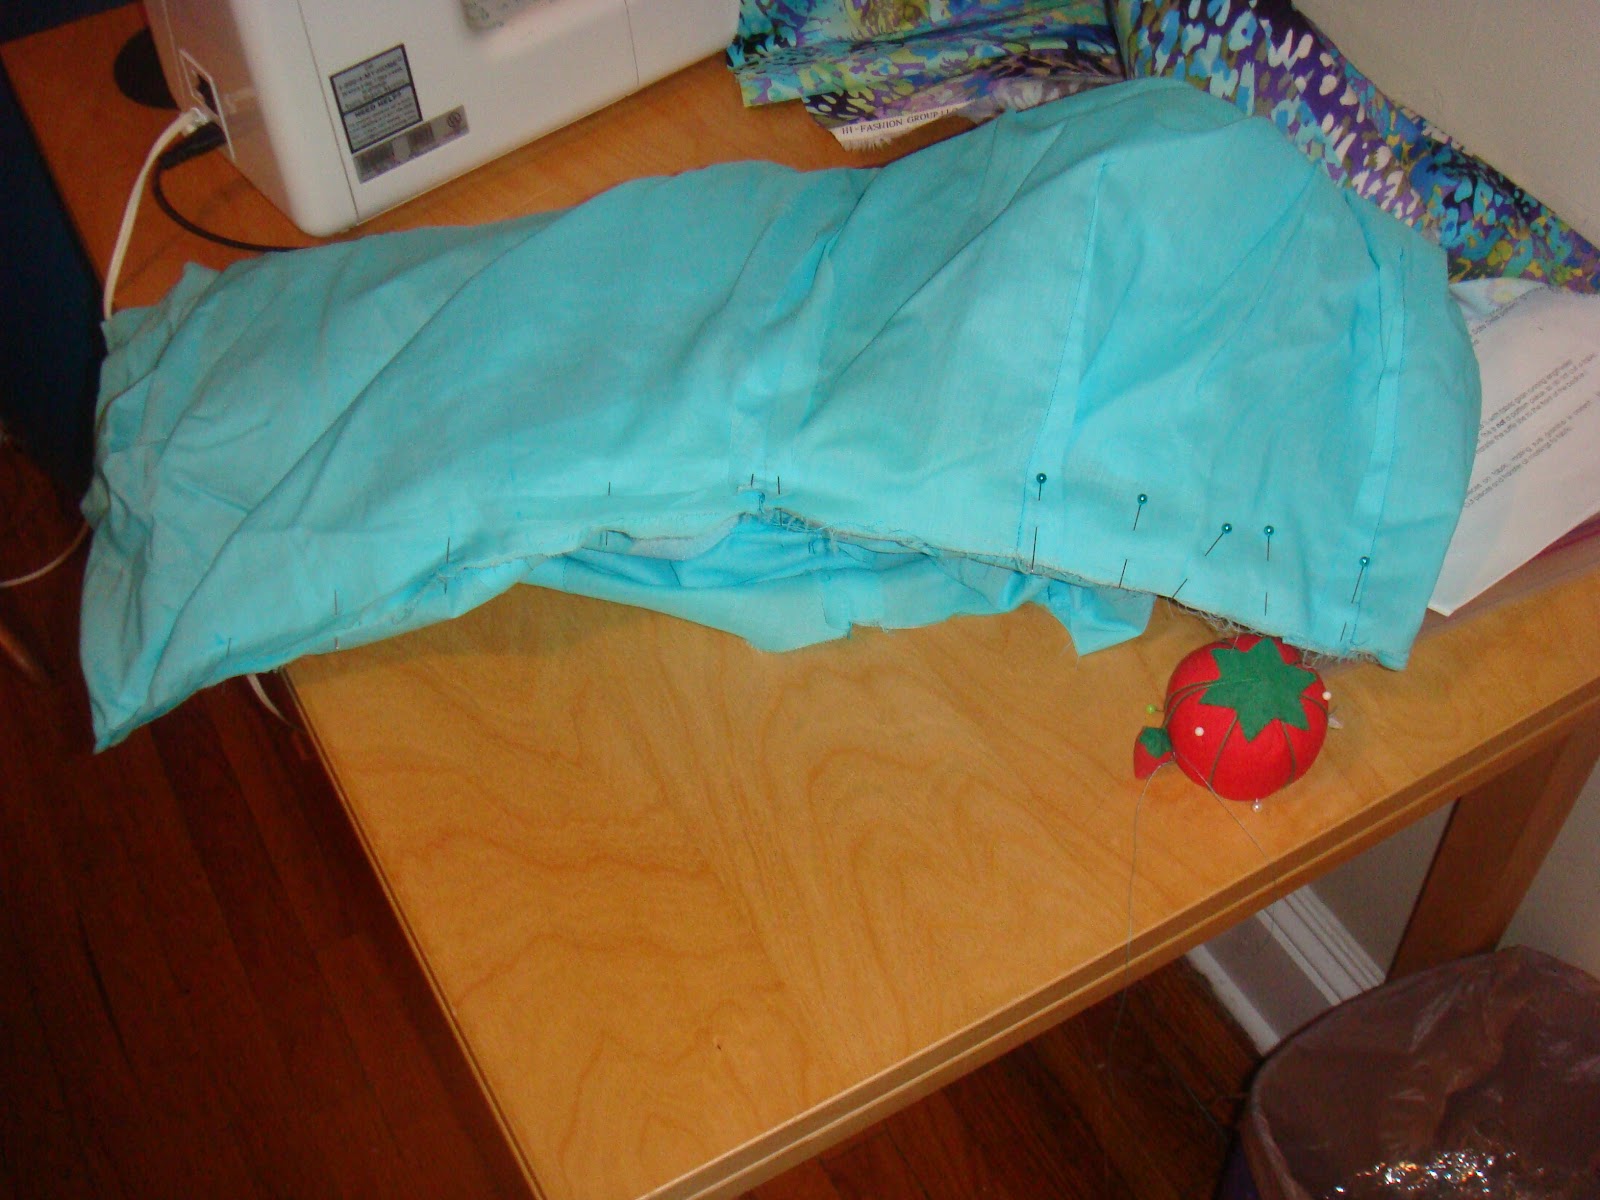
You're finally almost finished! You need to hem your dress and lining. We'll start with the lining so you're not tempted to wear the dress out without hemming the lining.
Friday, July 8, 2011
Coffee Date Dress Sew Along exit survey
 |
| The ages of sew along participants who responded to the survey. |
Sew along, days 20-21: hand sewing inside
There are a few things you'll want to clean up by hand at this point before hemming (and therefore finishing) your new dress. There's a very good reason I put these steps BEFORE the hem: if I save them for last, I end up getting impatient and never doing all this stuff, and then the dress doesn't hold up as well in the future. So do this now so you could in theory wear your dress as soon as it's hemmed!
1) Hand sew the seam below the bottom of the zipper to connect to your machine sewing, and stitch across the bottom of the zipper to lock it in. I also hand stitch just a few stitches down the side of each zipper to help lock the thread in.
 |
| Hand sewing to connect the bottom of the zipper to the seam |
 |
| Sewing over the bottom of the zipper (I had already trimmed off the excess zipper here)--see my stitches over top of the zipper teeth |
 |
| Finished zipper from the outside |
Thursday, July 7, 2011
Sew along, day 19: Finish the side seams
Now that your zipper is in place, you can sew the seam from the bottom of the zipper (where you sewed to, even if there is more zipper hanging off) to the bottom of the skirt. There will be a little gap between the bottom of your zipper sewing and the start of your new seam, but don't worry, we'll fix that by hand. Press the seam open.
Next, you'll want to sew the side seam in the lining. Pin the entire lining side. Then, mark where your zipper ends. Baste above that mark (sew using a long stitch that is easy to remove). Sew the bottom of the skirt with a regular length stitch. Press the seam open. Now, using your seam ripper, remove your basting. Basting before pressing helps guarantee your pressed opening is centered with a 5/8" "seam."
 | |||||
| Here, I have just sewn the entire lining side seam. I don't know if you can tell from the picture, but the above the zipper is basted, and below is sewn regularly. |
 |
| Pressed open the seam |
Now, stitch down your pressed edges that you just created by removing the basting stitches.
Wednesday, July 6, 2011
Sew along, day 18: inserting the zipper
Today's the big day! You're going to put a zipper into your new dress!
I prepared a little intro video to putting in the zipper. I didn't even watch it all the way through because it's too painful to watch myself talk to the camera, so hopefully it's not too horrible. After that, I have some pictures of how I put in my zipper. It's still not a fully cohesive tutorial, so you should follow another one that goes into more detail on each step.
Monday, July 4, 2011
Sew along, day 16: connecting the skirt to the bodice
Today's another easy day! You're going to sew the bodice to the skirt and the bodice lining to the skirt lining! This is pretty straightforward: pin the skirt to the bodice, "right" sides together. Even though the bodice lining and bodice are sewn together, they're separate at the bottom, so make sure not to catch the bodice lining when you pin the bodice to the skirt. Then repeat for the lining--sew the skirt lining to the bodice lining, "right" sides together. The seams will only show on the "wrong" side.
 |
| Pinning the skirt lining to the bodice lining--you want your pins to perpendicular to the seam you're making |
 |
| This is what you'll have after today! |
Tomorrow, we'll put the zipper in, then you'll have another day off to catch up before moving on to the finishing steps.
Sunday, July 3, 2011
Sew along, day 15--put the skirt pieces together
Today is REALLY easy. So in essence, it's another catch up day for all of you who are still behind.
You're going to connect the skirt pieces together on only one side, and do the same for the lining. Like with the bodice, you want to leave the left side open for the zipper. Keep in mind that the lining "right" side faces you, so it will be like you're sewing the opposite side of the outer skirt than the lining. If this confuses you, hold it up to yourself when you pin it together--the seams will face out when you do the lining, and in when you do the outer skirt.
Pin the skirt pieces together, and sew! That's it. Plain and simple. Today's a short day--hope you're enjoying the 4th of July Weekend and aren't planning to spend your afternoon and "holiday" in lab like I am.
 |
| Pin together the skirt (skirt front is the top piece shown here) |
Friday, July 1, 2011
Sew along, day 13: attaching the lining to the dress fabric
Now that you've given the bodice its three dimensional shape through darts and attached the ruffle to the outside, it's time to connect the outer dress fabric to the lining. After today, you'll just have to sew the skirt together down the side and attach the skirt to the bodice. The last few days will be finishing steps... the zipper, the hem, and hand sewing.
We're going to use the Burda Style tutorial, "How to sew an all in one facing." Here's a video to walk you through the tutorial! The video is available in HD, depending on your internet speed. You have to click read here/go to the actual post to see the video now because it was making the main page load too slowly.
Wednesday, June 29, 2011
Sew along, day 11: The ruffle

The ruffle seems to puzzle a lot of people who are making this dress, but it's really pretty simple! I think the point of confusion is that it's not an actual pattern piece, but since you've already cut it out, it shouldn't be too complicated.
You're going to use your handy overlock stitch that you used in the reusable grocery bag practice sew along. Finish the long raw edges. There is a special presser foot for this stitch. If you don't have an overlock stitch, it's ok, just zig zag along the edge to close the open edge. If you have no idea what I'm talking about, check my reusable grocery bag practice sew along post.
 |
| My overlocking foot |
Tuesday, June 28, 2011
Sew along, day 10: Start sewing!
Today is the first real sewing day! We'll sew all the bodice darts and sew the front and back pieces together (for both the dress and the lining). If your alterations included skirt darts like mine, then you'll sew these as well.
You should have marked darts on each bodice piece. Keep in mind that I'm doing a side zipper, so I have a front piece and a single back piece for both the dress and lining. Fold along the center of each dart, "right" sides together. Match up the dart lines you drew with your fabric marker. Pin along them, with the pins perpendicular to your lines.
 |
| Bodice lining front--folded along the dart centers |
Sunday, June 26, 2011
Sew along, day 8: Preparing your pattern for sewing
This is the last pattern prep day! I'm giving everyone another catch up day tomorrow to make sure we all start sewing at the same time. Pattern fitting, altering, cutting, and marking are my least favorite parts of sewing. If you're bored right now, you'll survive. We're almost over the hump. You'll also be thanking yourself later--when I rush to cut out something without checking to make sure it fits or decide I don't need fabric markings, I always kick myself later because the final product never turns out as well
This pattern doesn't have a lot of markings--it really just has lines for the darts. You'll also want to mark the center front and center back on each piece, which will make it easier to match up pieces later. I ALWAYS skip this step and then end up screwing things up. So, take my advice and just mark it! You'll also have to copy the ruffle guide to your bodice front and iron on the interfacing to your lining bodice front and back piece.
We'll start by ironing on the interfacing. Most interfacing comes with directions for ironing. First, iron the piece of fabric flat, and place it "right" side down, "wrong" side up. Remember, we folded the fabric so the right side was facing in. Then, bumpy/sticky side down, lay the interfacing on the fabric. Iron it on medium-high heat until it's mostly stuck. Then, flip the fabric over to the "right" side to iron out any wrinkles. Finish by going over the interfacing side again, making sure it's totally stuck. You'll need to do this for the LINING bodice front and bodice back.
 |
| Iron lining fabric piece flat |
 |
| Lay the interfacing in place |
 |
| Iron on the interfacing, following the description in the text |
Friday, June 24, 2011
Sew along, days 6-7: cutting out your fabric
Now that you have a perfectly tailored pattern, it's time to move on to your actual dress! The pace will pick up after this post, so make sure you're up to date! We'll still move slowly, but there will be something to do each day. So far this has been all prep work, which is time consuming but doesn't involve sewing, but I'll start splitting things into short sewing tasks.
Today it's time to start cutting out your fabric!
Start by ironing your paper pattern--yes, iron your tissue paper or packing paper, whatever you used! Use low heat, no steam (you don't want to light the paper on fire or shred it by getting it wet.
 |
| Ironing paper |
 |
| Nicely pressed paper--all the pattern pieces |
Tuesday, June 21, 2011
Sew along, days 3-4: the test run
Since Sunday, you should have used the free Coffee Date Dress pattern to cut out cheap practice to play around with for sizing purposes. All the seams should be marked, and you should have cut out along the sewing lines. Now, it's time to make alterations! I'll leave you two days to do this plus a catch up day on Thursday. The next sew along post will be Friday, June 24th. I honestly think alterations are the most complicated part of sewing.
Alterations are really individualized. I'm going to walk you through the process I usually follow when altering a pattern. How you adjust for a problem depends on what the problem is, so you should use your best judgment.
First, pin the fabric along the dart lines. Then hold it up to yourself or your dressform if you have one. The darts should go from your waist to just below each boob (sounds so vulgar in text). If they're too far apart, you'll want to take a little out of the middle. If they're too close together, you should add a little to the middle. If they go up too high, you'll want to move the point of the triangle down, etc. You should do all of this by marking new seams with a different colored marker than you originally used. Mark all changes on the stitching line, not the cutting line. Play with the darts if necessary until you get them right. If you end up having to add to the middle, just cut it open, pin in a little extra fabric, and then go back to your playing around. If there's not enough difference between the waist and bust, you'll have to widen the darts (pinch in more fabric, which means you'll have to add to the sides in the next step.
 |
| Pin the darts--you want all "seams" (not real seams since they're pinned, not stitched) to face outward, like you're wearing the dress inside out |
 |
| Darts are too far apart! Take in from the middle |
Monday, June 20, 2011
Sew alongs pages!
I created a new tab on my blog to consolidate all the sew along information. You can click the link here or click the tab next to home that is labeled coffee date sew along to get there. All relevant sew along posts will be consolidated there for easy access (so you don't have to search through all the old posts to find what you're looking for).
I hope your pattern prep is going well! Tomorrow we'll start with fitting and altering :)
Sunday, June 19, 2011
Sew along, days 1-2: prepping for the test run
The day has come! The sew along starts today! Usually I'll post one day at a time, but this first step is basically cutting out the pattern and making variations to your size/taste, so it could take you anywhere from 1-4 days to do it. I'll give you four days so you don't feel pressured, and once we move to actual sewing, I'll post things in shorter, day at a time posts.
 |
| The pattern! |
You should have printed the free Coffee Date Dress pattern from Burda Style by this point and taped it together. This pattern was generated by Elaine of The Selfish Seamstress Blog. It won a pattern contest with Burda Style, and that's how it ended up on the Burda Style website. Elaine's blog is really fun to read, but unfortunately it looks like she stopped posting at the end of 2010.
Now, using regular paper scissors (not your good sewing scissors), but around each pattern piece. I like to leave a wide margin in case I need to use the pattern again later for a different size.
Now, using regular paper scissors (not your good sewing scissors), but around each pattern piece. I like to leave a wide margin in case I need to use the pattern again later for a different size.
Saturday, June 11, 2011
Coffee Date sew along fabric amount correction!
I messed up just a little. If you're doing a separate top and bottom, you should get 2 yards for the bottom, regardless of whether your fabric is 45" wide or 60" wide. If you only bought one yard already, I think we can make it work--you just have to be creative with your cutting.
Sorry about that!!!
Sunday, May 22, 2011
Coffee date dress fabric!
 |
| My fabric--a sneak peak of a later project in the background! |
 |
| My inspiration: Anthropologie Sunny Soiree Dress |
How's your fabric searching going? I'd love to hear about it in the comments section!
Sunday, May 15, 2011
Coffee Date Dress Sew Along Details!
I've set a date for my coffee date dress sew along! We'll start working on Monday, June 19th. Correction: Sunday, June 19th (2011). I'll post ~30 minutes of very beginner level instructions for each day. This means you should buy all your supplies in the next month. At the start of the sew along, I'll post a calendar with what we're going to do each day. I expect the whole thing to take about two weeks, and I'll leave a few "catch up days" in there in case you miss a day.
 |
| Committee Meeting Dress |
 |
| Sexy Date Dress Click the picture to see the blog post |
I'm thinking about doing the top in one color and bottom in another, like on this Anthropologie dress, which really resembles the coffee date dress:
Monday, May 2, 2011
Sexy date dress

I decided to take the dress up a notch and made it out of black satin. It's something polyester, so even though I loved the fabric when I first got it, I got frustrated with it pretty quickly. Still, I think it turned out nice! The dress definitely benefits from a belt, so I chose red... and my new three inch heels that are actually comfortable and walkable. Here's the final product (you have to click read more to see the rest of the pictures)!
Subscribe to:
Posts
(
Atom
)