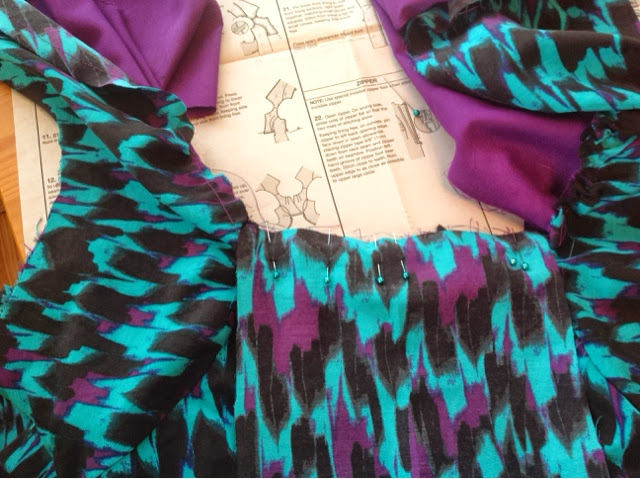
18. With right sides up, lap right upper front over left, matching centers. Baste.
If you followed my instructions and extended the base of the front panels, the width of the crossover shouldn't really change, but it could be too wide (if you extended it more than a little bit). If this happens, just chop off the pointy part to make it fit. Use the middle front panel (piece 9) to determine the correct width. Make sure you're overlapping at the center front.
 |
| Cross over the panels, matching center front. I did not extend the width of my panels when making this dress, so the points don't reach the opposite side. Your points could reach the opposite side, just make sure they don't extend the whole thing beyond the correct width. Baste them in place. |
19. Pin LOWER FRONT (9) to lower edge of upper front... Pin lower front LINING to lower edge of upper front lining, right sides together... Baste between small circles. Stitch between circles, through all thicknesses.
I actually didn't baste the lower front to the upper front before adding the lower front lining. I just pinned carefully.
 |
| Pinned the center front panel. I actually didn't baste here, but I did do this before pinning on the lining panel behind it and then adjusting the pins. |
 |
| Added the center front lining panel |
 |
| This is what it looks like after sewing |
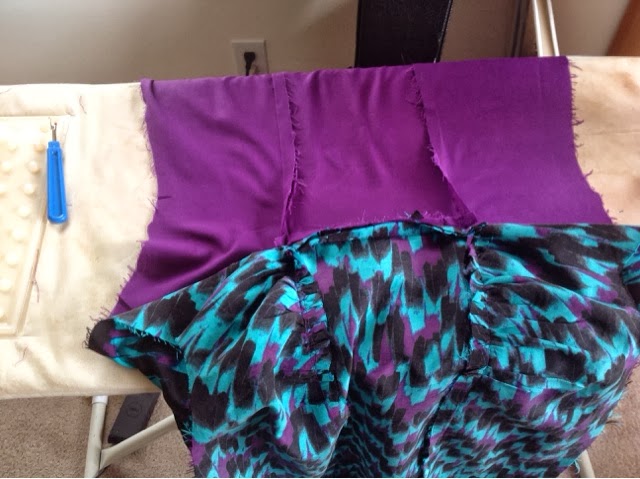
20. Pin lower front to side front sections, right circles together, matching small circles and squares. Adjust gathers. Baste,... Stitch... Press seam allowances toward front below circle.
This is where you'll actually adjust the gathers. I recommend pinning the pieces together above and below the gathered section first, and then adjusting the gathers as you pin. Definitely baste this seam, then check the gathers to make sure your stitching didn't bunch them up in any strange way. Be careful not to catch the upper front lining in your seam for the outer front and vice versa.
21. Pin lower front lining to side front lining sections,...
 |
| This is what your dress will look like at this point. |
 |
| Sew the same seams on the lining. There is no gathering here, so it's easier. Just make sure to inspect the seam that connects the upper and lower front to make sure it reaches your new seams you just put in. Otherwise you'll have a hole. |
Now, I recommend doing step #28 BEFORE finishing the back seam and zipper. My reason for this is that it is often easiest to take the dress in or out at the back, so it's better to complete the dress so you can try it on and pin the back closed to determine any adjustments you should make.
28. Open lining at sides. Pin back to front at sides, matching notches and seams; pin lining edges together. Stitch in one continuous seam.
I'm not sure what they mean by open lining at sides. Basically you're going to sew one long side seam on each side, all the way from the bottom of the lining to the bottom of the outer dress, straight through the armpit.
 |
| This is the seam you're going to sew here, continuously. |
 |
| Here's what your dress looks like at this point! Make sure to press everything really well. |
Tomorrow, we'll put the zipper in and make the back seam!


No comments :
Post a Comment