Don't forget to use #easybreezyskirt if you're sharing photos of your creation!
This will be a fairly short day. I'll also post the next day (Monday, August 5th) a little later this afternoon so you can speed up the pace if you want. I made day #3 (Saturday, August 3rd) the longest day, and each other day should only be ~30-45 minutes of work for a beginner.
Before you start anything today, mark the middle of each skirt piece at the top (the narrower end). Make sure you can still see your markings on the waistband pieces (darken them up if they've faded).
You should have two skirt pieces, one front and one back. They're really the same exact pieces (each is 1/4 of a circle). Decide which side you want to be the front and which side you want to be the back. If you have a solid fabric, then it really shouldn't matter. If you have a print, it might matter to you.
Place the skirt pieces on top of each other, right sides together, with the front piece underneath the back. Then:
 |
| Pin along the right side (so when you open up the seam it will be on the left side). The front piece is under the back. |
 |
| An alternate view: pin along the right side. Sew along this seam (where the pins are) with a 5/8" seam allowance. Press this seam open. |
 |
| Lay the waistband out flat, right side up, with the bow pieces closer to you. |
 |
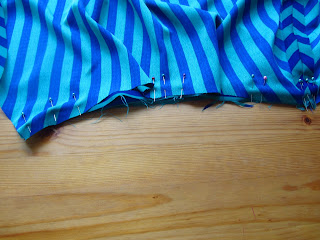
| This time, pin (and sew) all the way to the edge. Leave the skirt loose at the dart points while you get everything else in place. |
 |
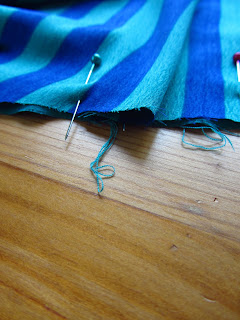
| Pin closer and closer to the dart points. |
 |
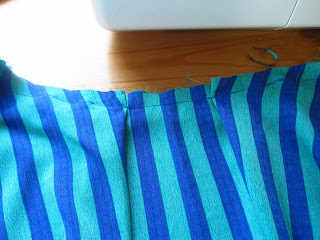
| In this photo, the center front is on the right of the picture. |
 |
| In this photo, the center back is on the left of the picture. |
 |
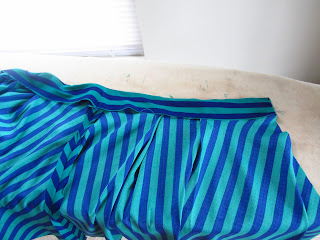
| Once you're sure everything is properly pinned and/or basted properly, sew the seam with a 5/8" seam allowance. Press this seam flat, and then press it toward the waistband. |
 |
| Press the new seam up toward the waistband. |
 |
| While you're at the ironing, press the free end of the waistband lining under. You will end up hand sewing this in place later. |


No comments :
Post a Comment